
How to Record Sermons Digitally and On CD
Being a Christian doesn’t mean being stuck in the past. God has given us incredible technology, and it’s only right that we use it to serve Him in the best way possible.
Take sermons, for example. They’re the heart of our worship, filled with wisdom and guidance—but let’s be honest, they can be long. Sometimes an hour or more. That’s why you should record sermons for CDs. A good recording allows people to revisit the message, share it with others, and even pass it down for future generations.
But why CDs and not digital files? Simple. We want our sermons to last. Even with all the advancements in cloud storage and flash drives, CDs remain one of the most reliable ways to store audio for the long haul. Plus, you can easily hand a CD to someone when you want to share!
In this guide, I’ll walk you through everything you need to record your sermons—from the tools required to setup instructions, recording techniques, and how to store them properly for future use. Let’s get started!
Why Should You Record Your Sermons?
Sermons can be really long. Most are just over an hour. As such recording a sermon can provide the congregation with several benefits:
- They can help the preacher reach more people. The sermon can be posted on the internet. Platforms like Youtube or Spotify are great for reaching out to more people globally.
- Recorded sermons can also be distributed to members of the public who can then listen at home.
- Recording sermons on CD enables the church to preserve teachings for a long time so that they can be accessed for future reference.
Equipment You Need to Record Sermons on CD
Recording sermons on CD is not as complex as it sounds, the most important thing is to ensure you have the best sermon recording devices for the job. Here are some of the tools you will need:
1. Microphone
Obviously you first need a sermon recording microphone. This is how you are going to capture sound. A good microphone will be key in determining the quality of your audio. Choose from:
- Lapel microphones – Ideal for pastors who move around.
- Handheld microphones – Great for interactive speaking.
USB or XLR microphones – Best for direct recording.
2. Audio Mixer
Next you will need an audio mixer. This is a device that will help you balance sound levels while also enhancing audio clarity. There are two types of audio mixers:
- Analog mixers – Simple and effective.
- Digital mixers – More control and connectivity options.
3. Digital Recorders
After that you will need equipment for recording the sermon. Ideally these should be easy to use and also portable so that you can use wherever you go.
- Portable Audio Recorders (Zoom H6, Tascam DR-40X) – Standalone devices with built-in microphones.
- Multitrack Recorders – Allow recording multiple sources simultaneously.
4. CD Recorder for Sermons
To distribute sermons on CDs, you’ll also need a CD recorder for sermons with CD-burning functionality. These include:
- Standalone CD Recorder for Sermons – Directly burns sermons to CDs.
- CD/DVD Burners – External or built-in computer drives for sermon duplication.
5. Computer with Audio Editing Software
After recording the raw sermon you may want to edit it first so as to get a cleaner final version. To do that you will need editing software that will help you improve sound quality and allow you to cut unwanted parts. Some popular options include:
- Audacity
- Adobe Audition
6. Accessories
You will also need other accessories that are essential to operating your high quality sermon recording equipment. These include:
Pop Filters – These reduce plosive sounds when speaking.
Microphone Stands & Boom Arms – Ensure stable and flexible mic positioning.
Headphones (Closed-Back) – For monitoring live recordings.
SD Cards & External Hard Drives – Store sermon recordings securely.
Step-by-Step Guide to Recording and Burning Sermons to CD
Now that you have gathered all the necessary equipment the next step is to set them up. While this may seem daunting at first it is actually very easy to do. Below is a step by step guide to set up your equipment:
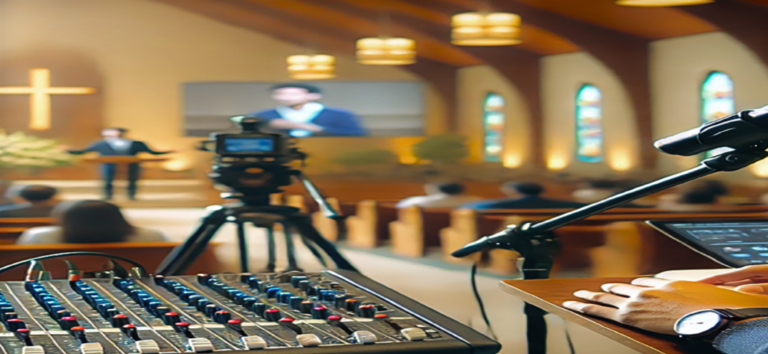
1. Set Up Your Recording Equipment
Begin by setting up your sermon audio recording equipment. Start with the microphone which should be positioned close to the speaker. You then connect it to the audio mixer or sermon recording kit for churches. After setting these up you need to ensure that the recording levels are balanced.
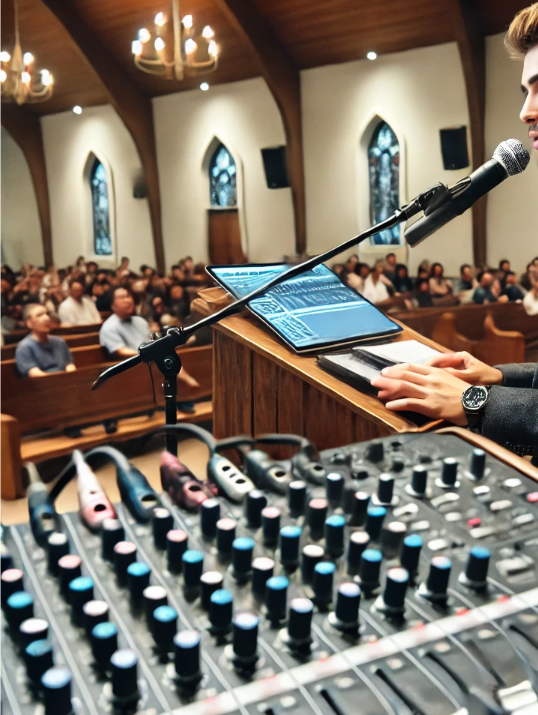
2. Record the Sermon
Once you have your equipment set up you can start recording. Ensure you are using a quality sermon recording device or software to capture the audio. Monitor this process keenly to make sure there are no breaks and that the devices are functioning optimally. After the sermon is finished save the audio file in a high quality format like WAV or MP3.
3. Edit the Sermon Recording
You will then need to edit the audio file. Use a quality editing software to remove the background noise. You can also adjust the volume levels if needed and also add intro and outro music to add a branding touch.
4. Burn the Sermon to CD
Now that you have your sermon audio file you can burn it on a CD. To do that first insert a CD into your CD recorder for sermons. You can then use software like Windows Media Player or Nero to burn the audio file onto the CD.
After that ensure you label the CD appropriately for easy retrieval later.
5. Distribute the CD
You should now have several copies of the sermon audio burnt onto CDs. These will now be easy to distribute first to your congregation and then to the rest of the public. You can sell or donate them to whoever needs a copy.
Additional Tips For High Quality Sermon Recordings
As you can see from the process described above, recording a sermon on a CD is pretty easy. Once you’ve got the right equipment set up it the recording and burning process is pretty straightforward. There are however a few things you can do to ensure your sermon recording is of the highest possible quality.
- First you can ensure that the environment is as quiet as possible. This will help minimize background noise and thus you will spend less time editing the audio file.
- Also make sure to test your equipment before the sermon starts. This will help you get an interruption free audio file as you wont need to fix or adjust anything during the sermon.
- And finally you can also consider distributing your audio digitally on platforms like Youtube and Spotify for a wider reach.
Get the Best Sermon Recording Equipment at Kingdom.com
Ready to start recording your sermons with high-quality, reliable equipment? At Kingdom.com, we offer the best selection of CD recorders, microphones, and audio mixers to make sure your messages are preserved for years to come.
Shop now and find everything you need to set up a seamless sermon recording system. Plus, take advantage of our exclusive discounts and deals!
Responses